
Bridal Shower Sign
Step 1: Paint the back of the sign. I couldn’t find the perfect green, so I mixed in a little white to achieve this color. You will need to do several layers, so allow a good amount of time for this step. You need to let each coat dry before applying the next and I prefer using a foam brush to reduce streaking. I needed almost the entire 2oz bottle of green.
Step 2: Apply the flowers. I arranged them all before applying to make sure I liked the look before it couldn’t be undone. I dipped a toothpick into the glue and lightly applied it to the back of each flower and gently pressed down.
Step 3: Cut and apply the Vinyl. Cut the Vinyl using a Cricut or Silhouette and apply using a clear transfer tape. You can use a removable or permanent vinyl. If you want this sign to be reused with different text, use removable. I prefer transfer tape with grid lines for projects like this to help with spacing and alignment. Pro tip: put 2 peices of parchment paper underneath while you get the lettering into place. Then gently remove each half and apply from the middle out. **If you do not have a cutting machine, many public libraries have them available for use!
Product Links & Additional Info:
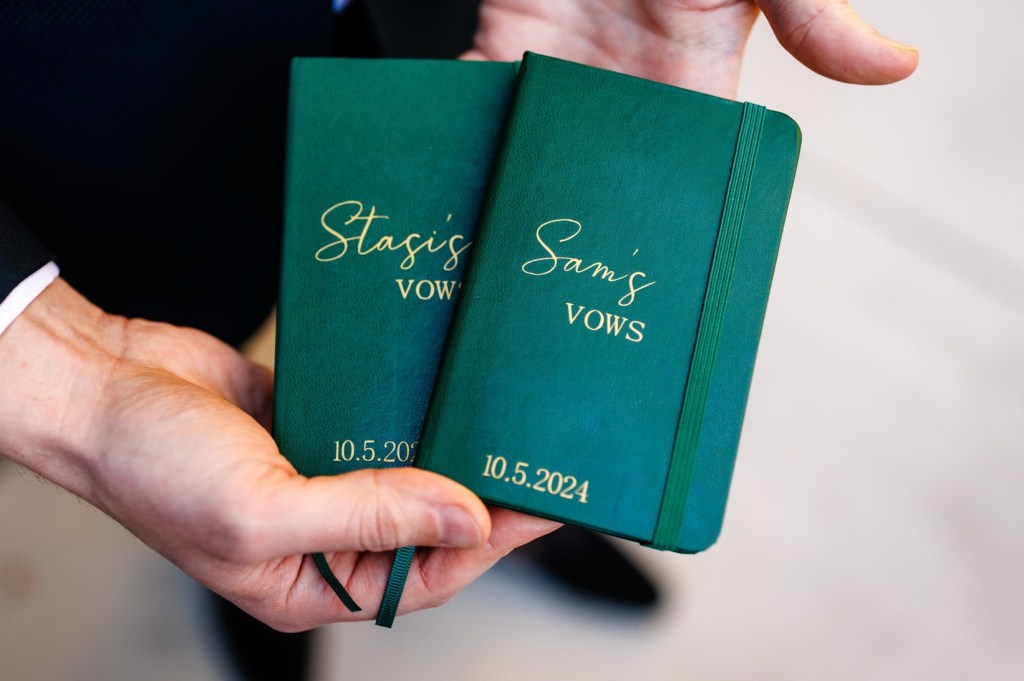
Vow Books
Step 1: Cut out text using a cricut or silhouette machine on heat transfer Vinyl (HTV). Note: HTV won’t work on plastic books. For plastic you will need to use permanant vinyl and it won’t last as long as using HTV.
Step 2: Once the HTV sheet is in the place you want, press down so the transfer sheet helps keep it in place.
Step 3: Cover with a small piece of parchment paper, then use a heat press to apply the HTV. I prefer using a mini press for notebooks. Make sure to follow the heat and pressure guidelines listed for your heat press and HTV type. If you don’t have a heat press you can use an iron, but make sure there is no water at all in it.
Photo: Gillespie Photography
Product Links & Additional Info:
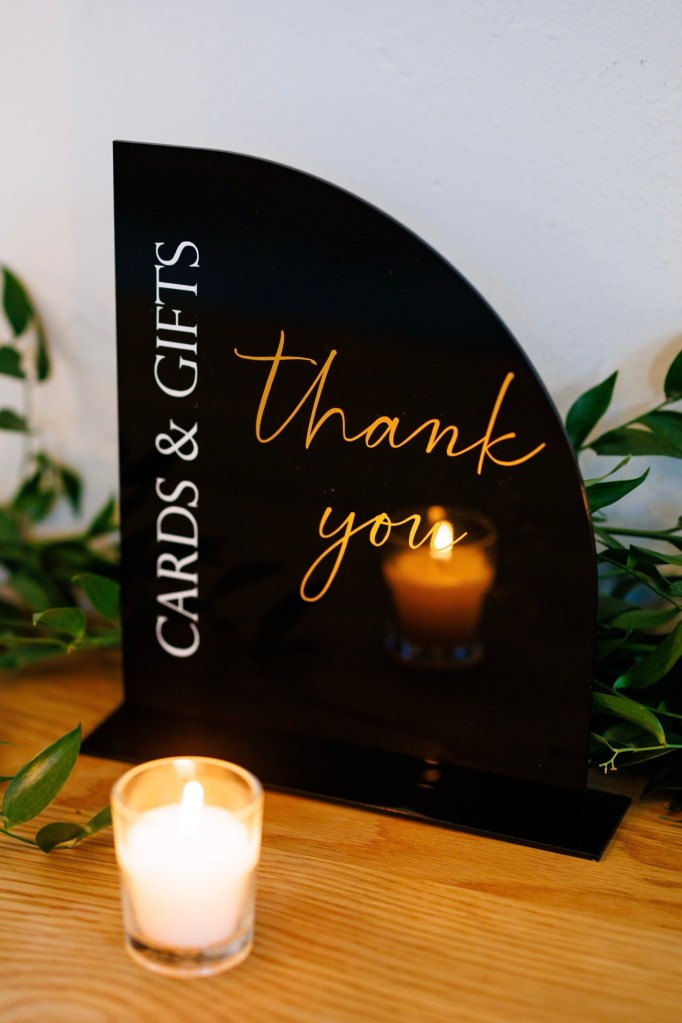
Table #’s & Small Signs
Step 1: Cut vinyl out on Cricut or Silhouette machine. If you plan to use these over again as is, I would suggest permanent vinyl. If you plan to sell the signs after using them or want to reuse them for furture events with different messaging, I suggest using removable vinyl.
Step 2: Using clear transfer tape, apply to the signs. For signs, I prefer transfer tape with grid lines to help with spacing and alignment.
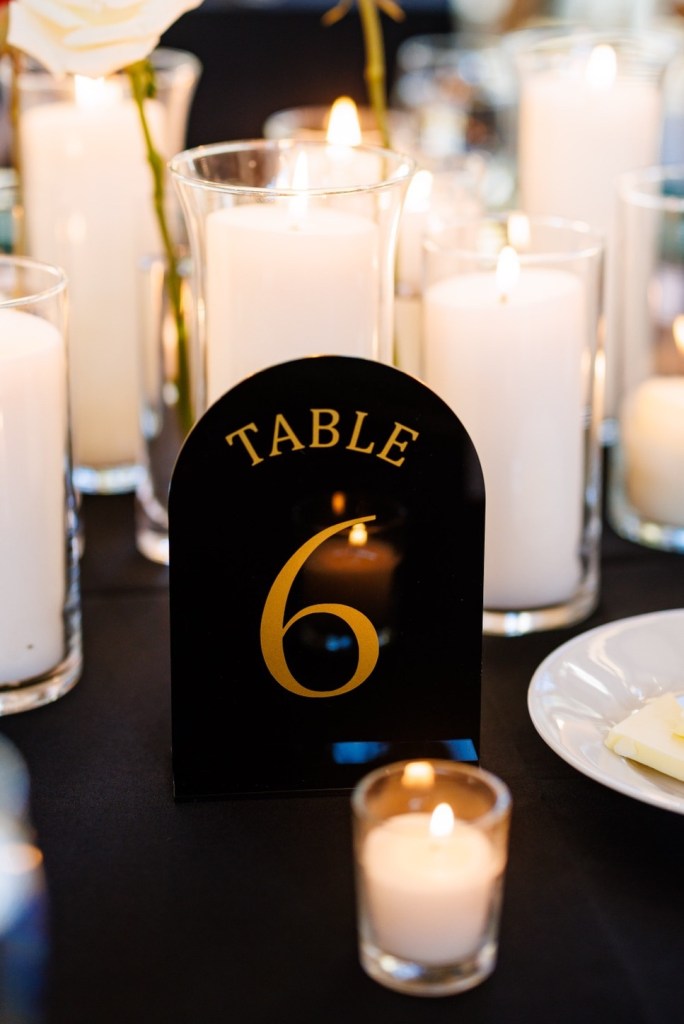
Photos: Gillespie Photography
Product Links & Additional Info:
Half Arch Signs
Arch Signs
Gold Vinyl
White Vinyl
Transfer Tape
