Updated Fireplace with Paint
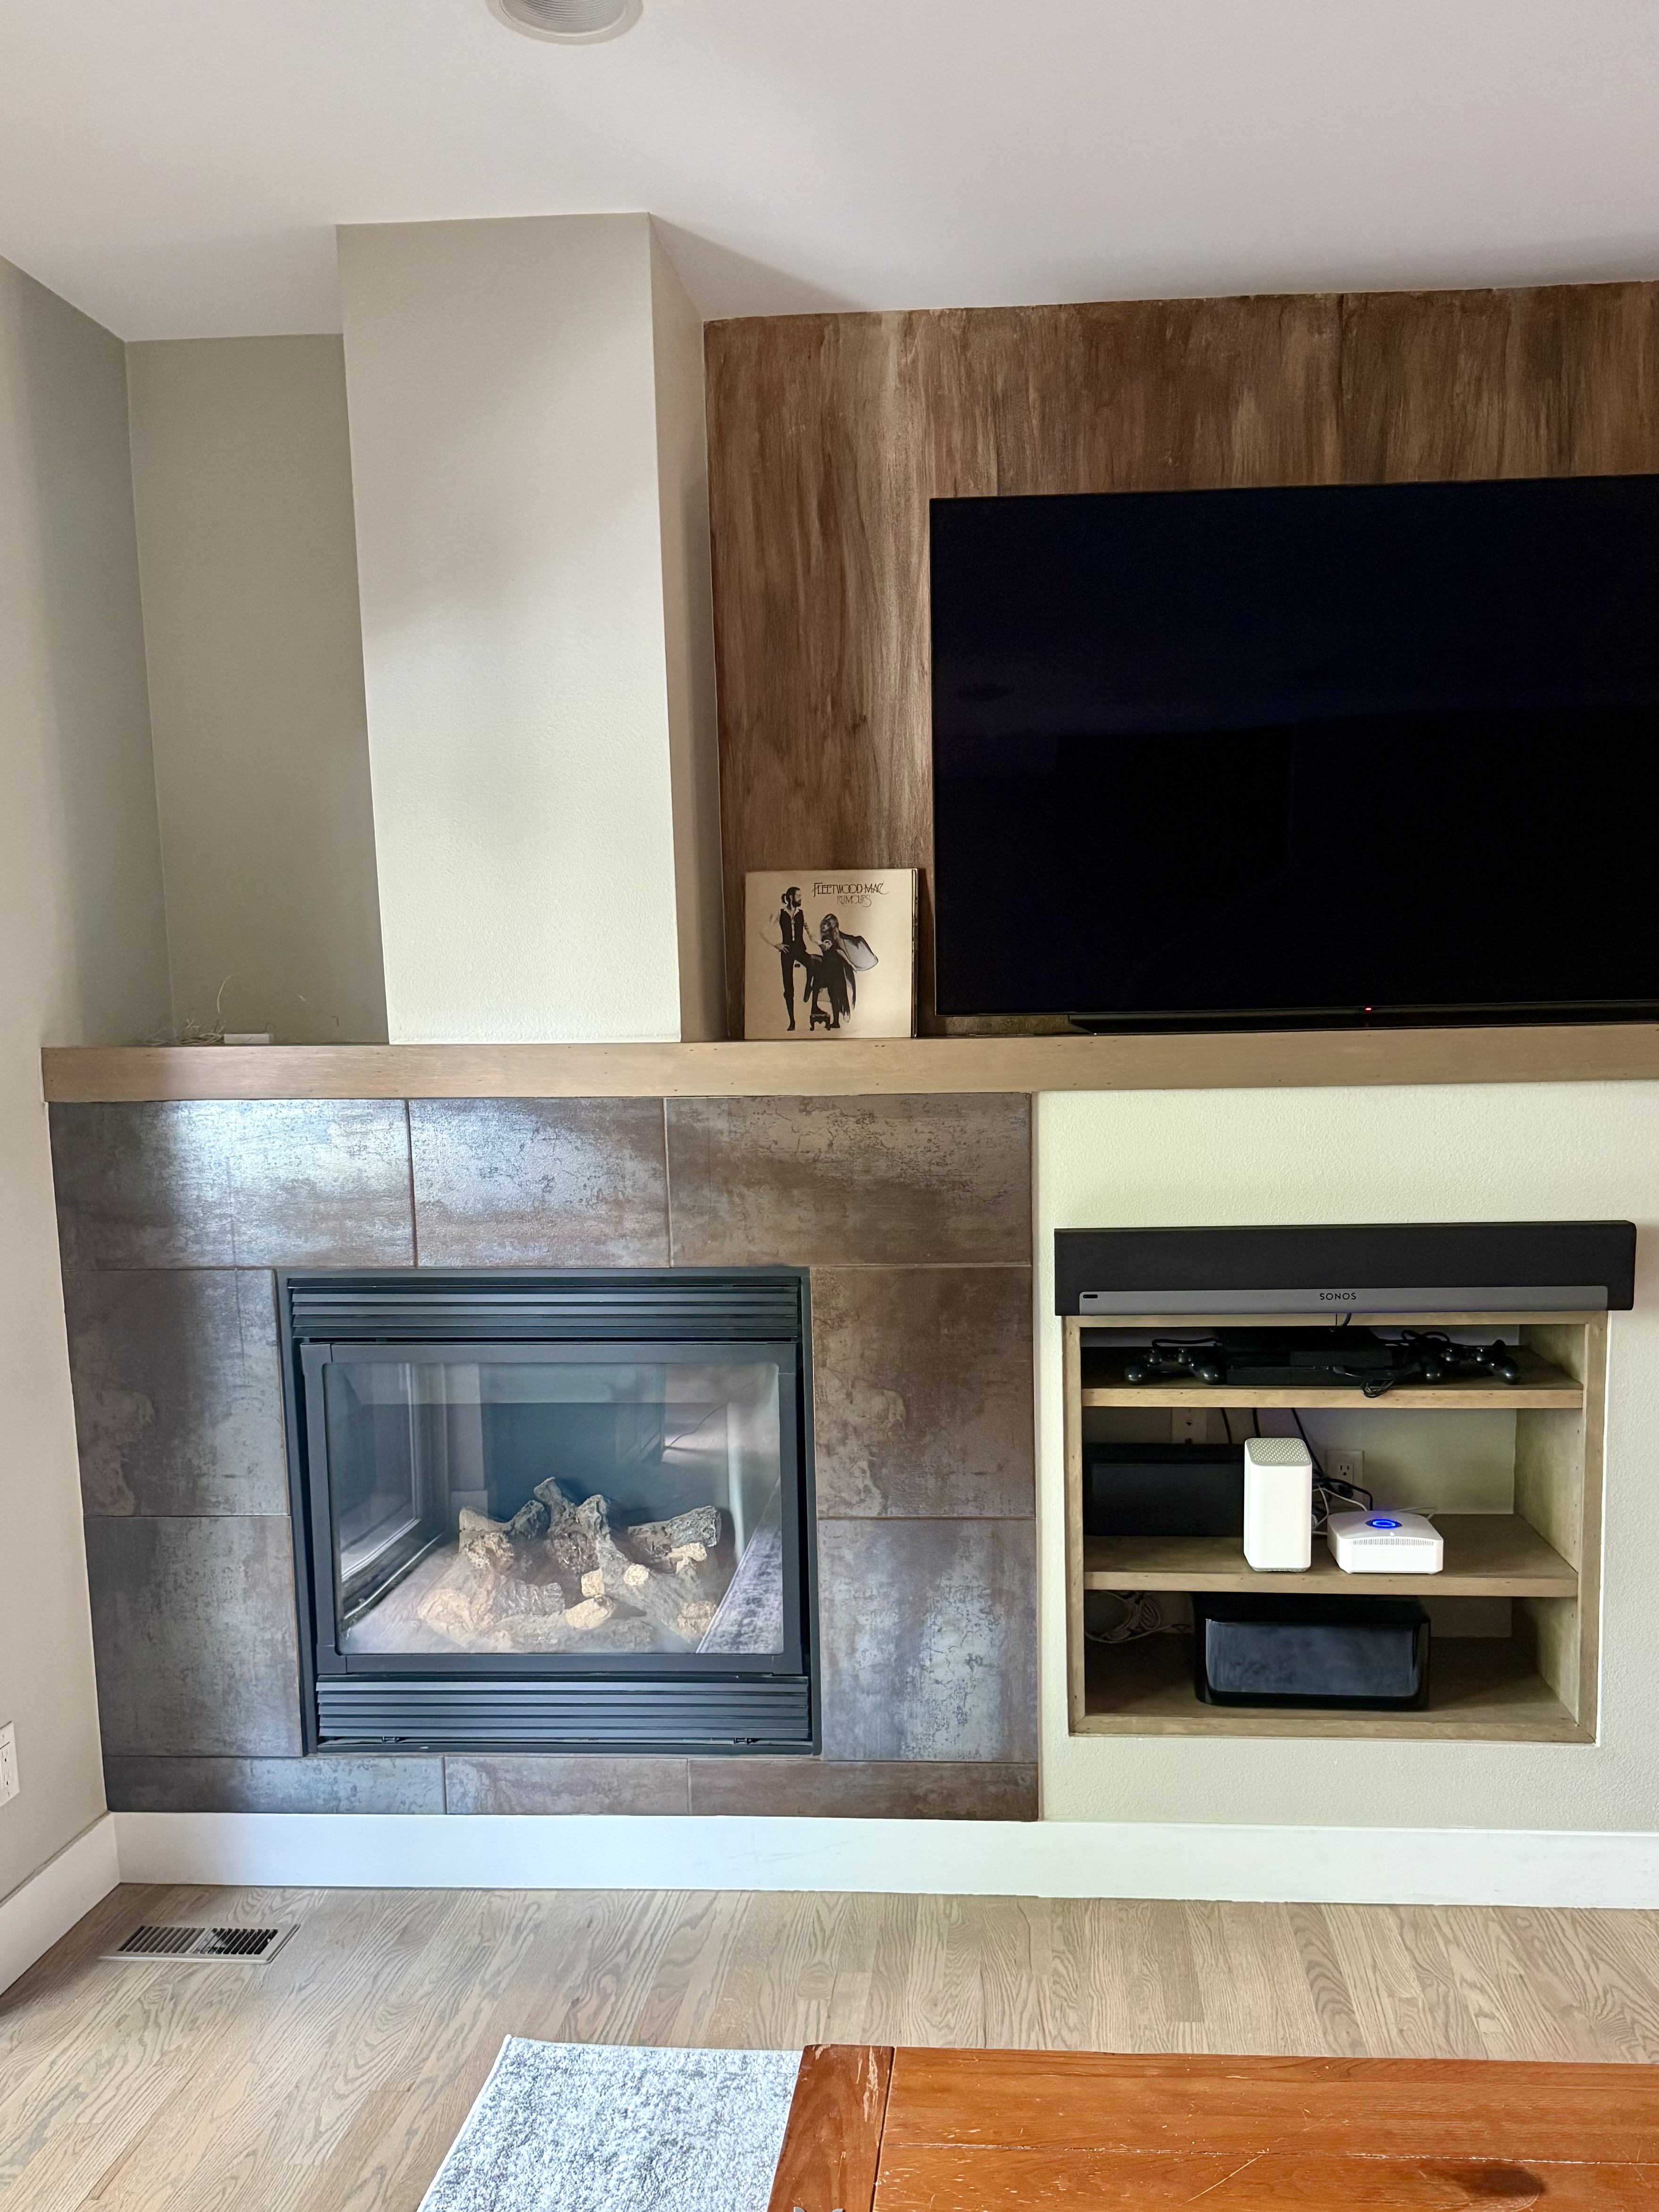
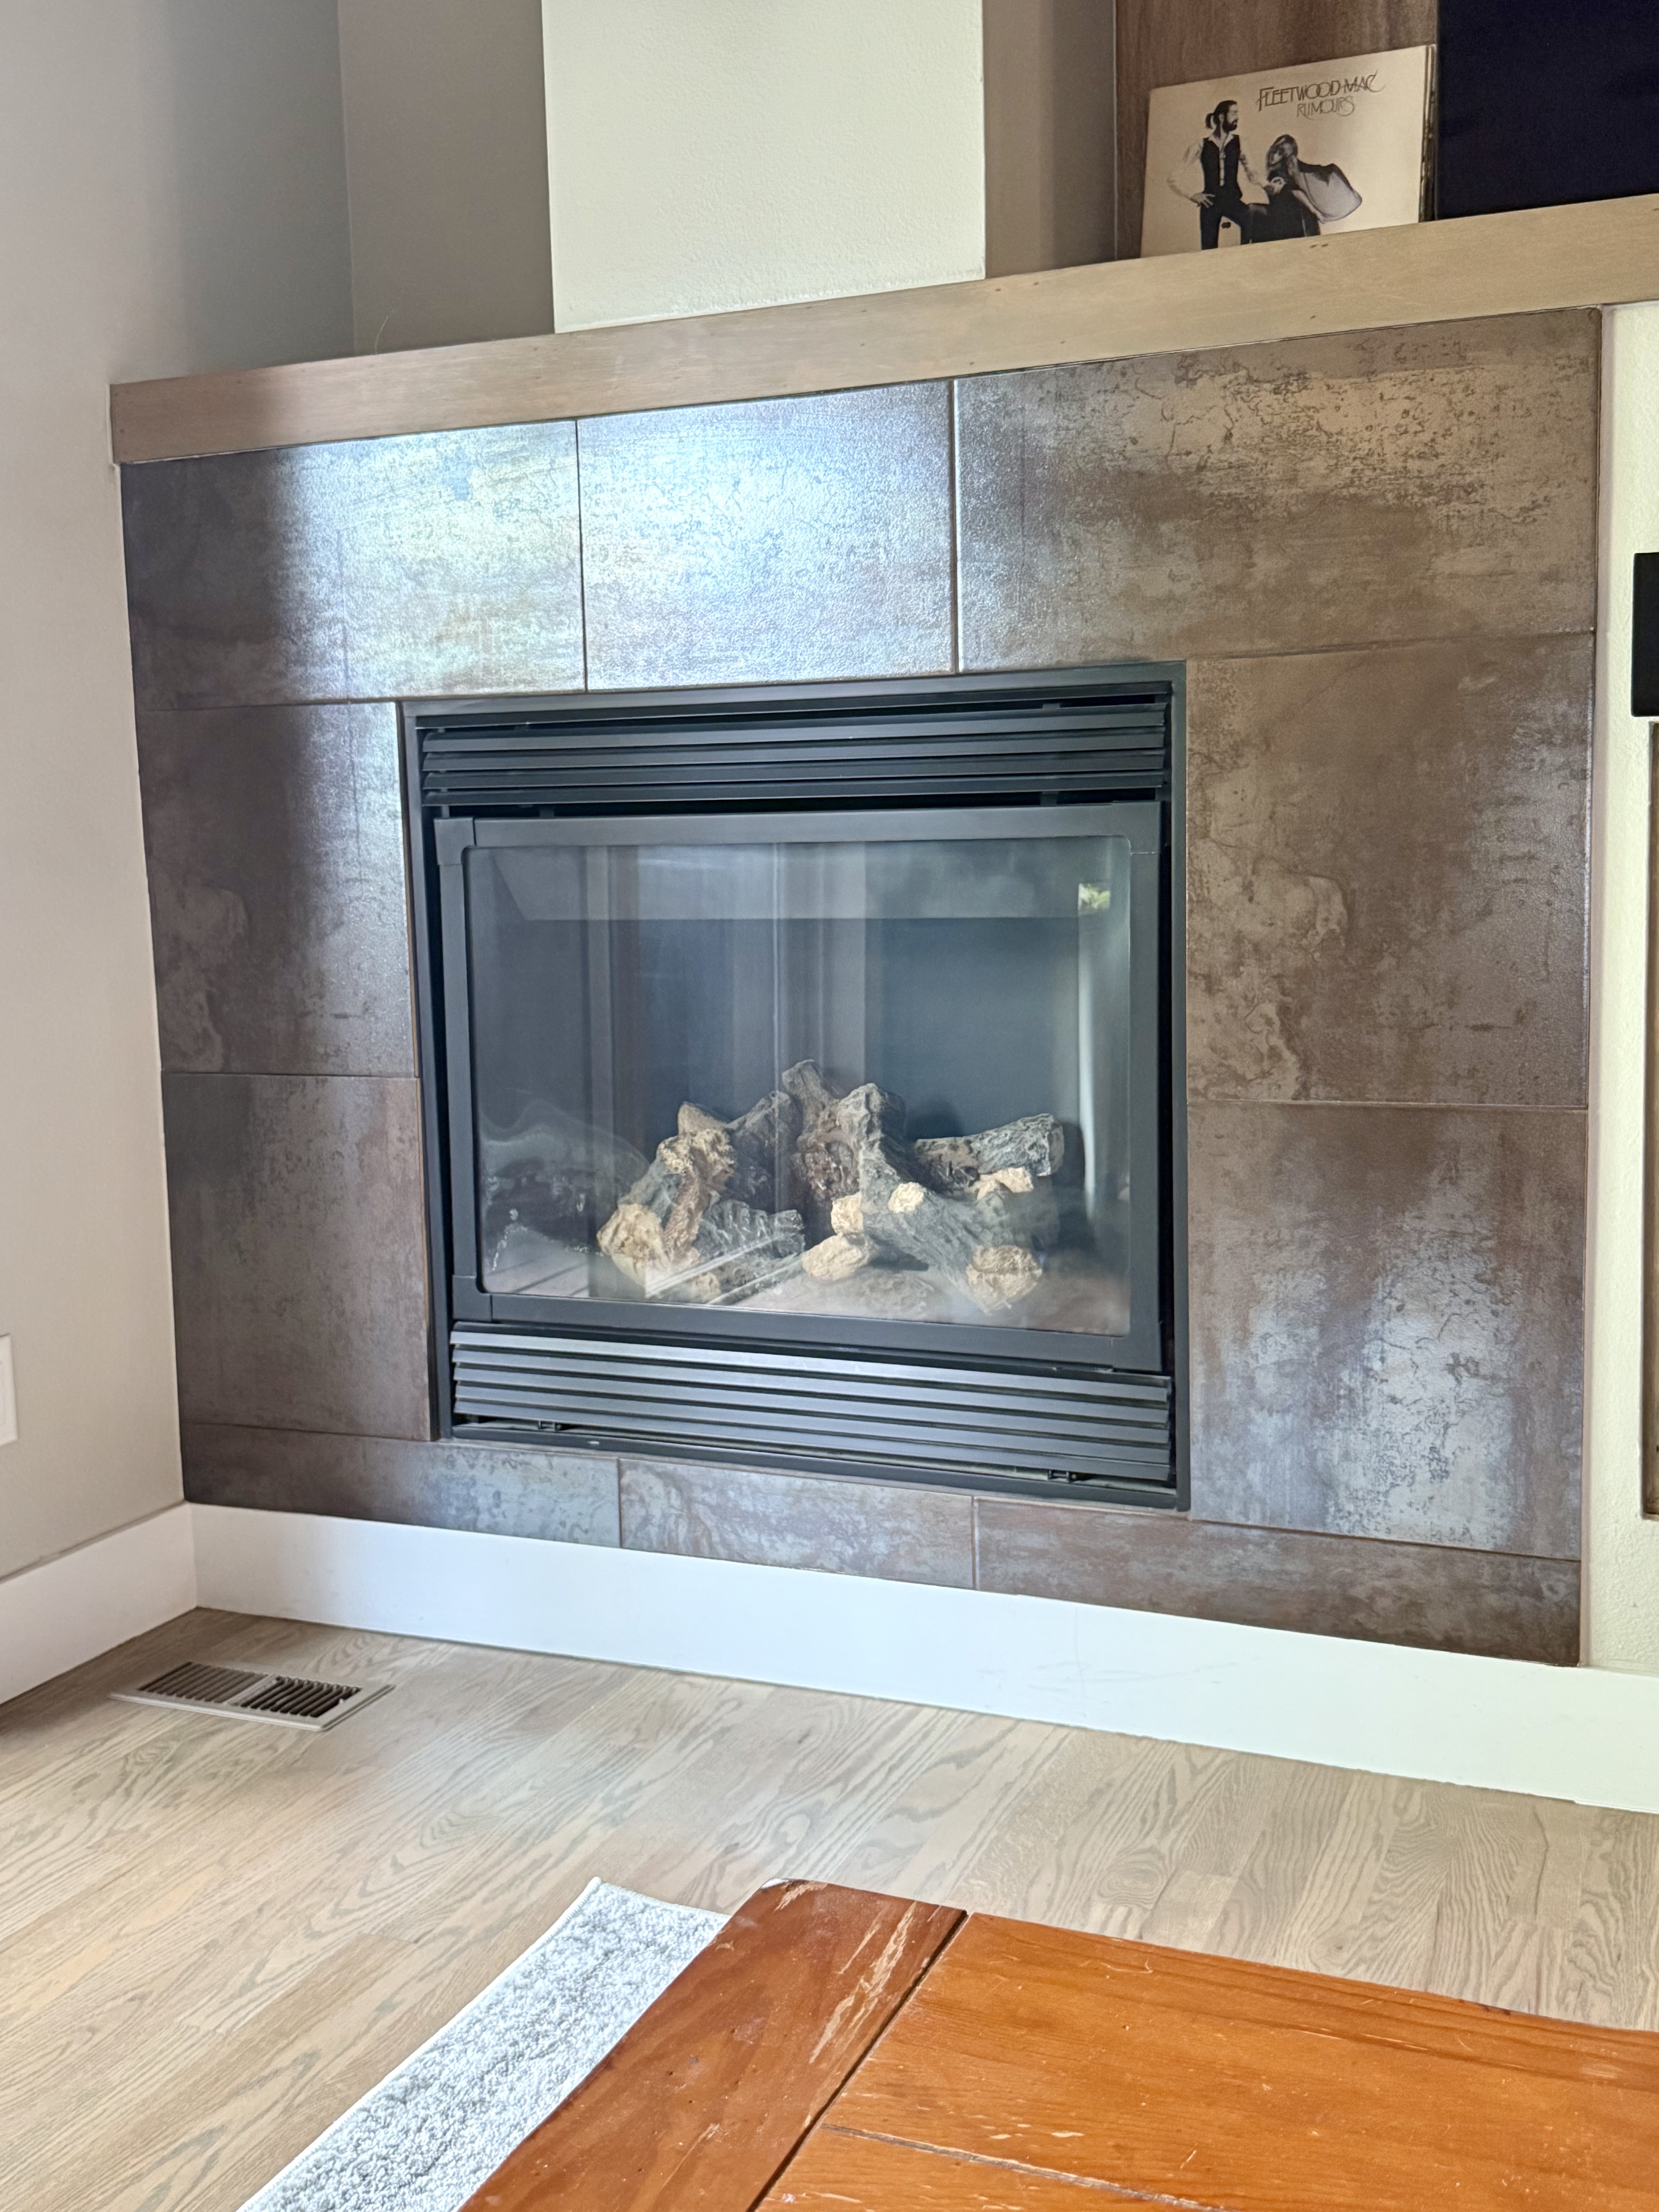
I HATED the tile around our fireplace. It was a dark brown bathroom tile and I have no idea why any builder would have chosen it other than using leftovers from another project. We considered ripping it out and replacing the tile, but that would have required buying all new tile, cutting down tile, repairing damage, etc. This would also be expensive, and why spend more money when you don't have to? The existing tile was in good condition, so I decided to work with what I had! Please remember that painting tile is not like painting a wall. The prep work is extremely important.
So let’s walk through how we went from WTF was that choice to clean, modern, and versatile!
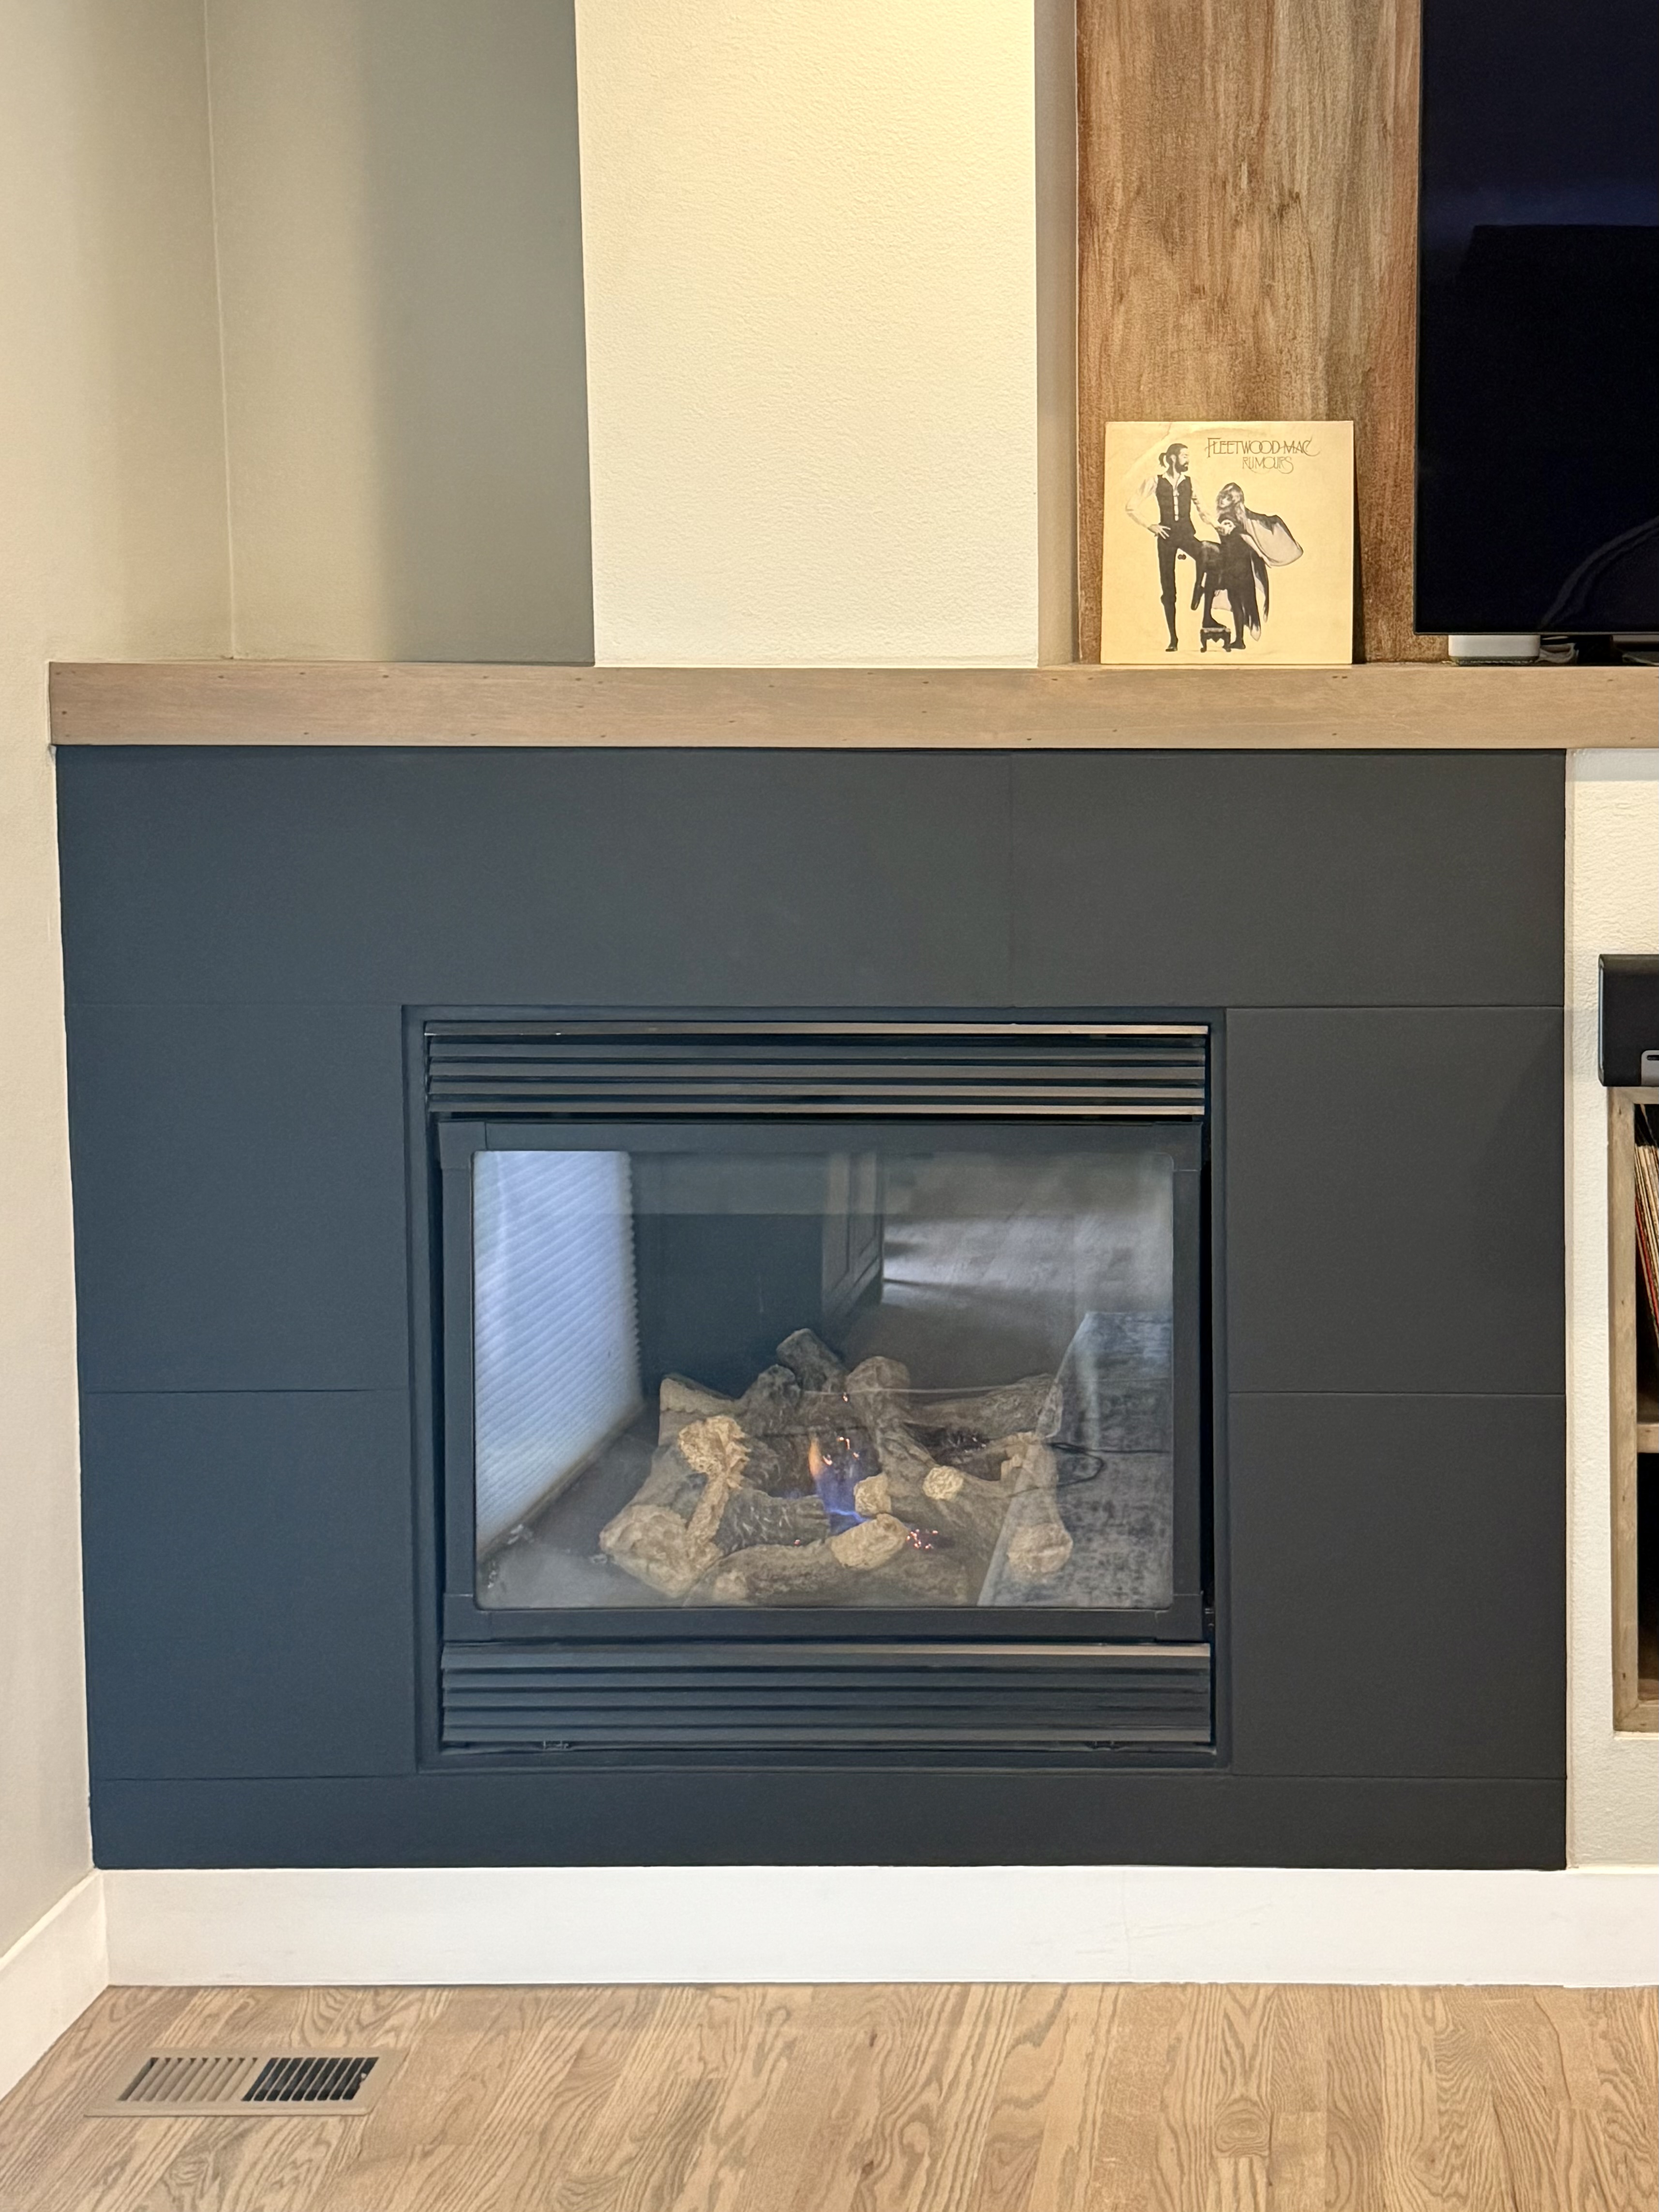
I knew I wanted a matte black that made the tiles and the vents look seamless. There is no way to make those vents look any nicer than they are, so it made sense to help them blend in. We also used a lot of the same supplies to update the entertainment built in next to the fireplace.
So here is what you will need!
- Paint tarps/sheets/tray
- Painter’s tape
- Paint rollers (4 inch), small brushes, and small foam brushes
- Degreaser-the one I used
- Bonding primer
- QUALITY paint (this is an area that’s getting heat)
- (Bonus Area) Interior wall primer
- (Bonus Area) Outlet Receptacles & Decorative Plates
- (Bonus Area) Matte Spray Paint
Now let’s get into the process!
- Do not skip this step! You need to take a degreaser to the tile first. I did a few rounds to make sure I had the cleanest surface possible.
- Tape and tarp! I also taped a plastic paint sheet along the baseboard and I am so glad that I did!
- Apply your bonding primer. I used Valspar Water-Based Primer. I quickly learned that this is not like your standard wall primer. It is STICKY. So once it starts to dry (which is quick) it will stick and pull up if you go back over it before it completely dries. If this happens, don’t worry. Let it dry and then lightly sand it before doing a second coat. Needless to say, make sure you let it dry completely between coats.
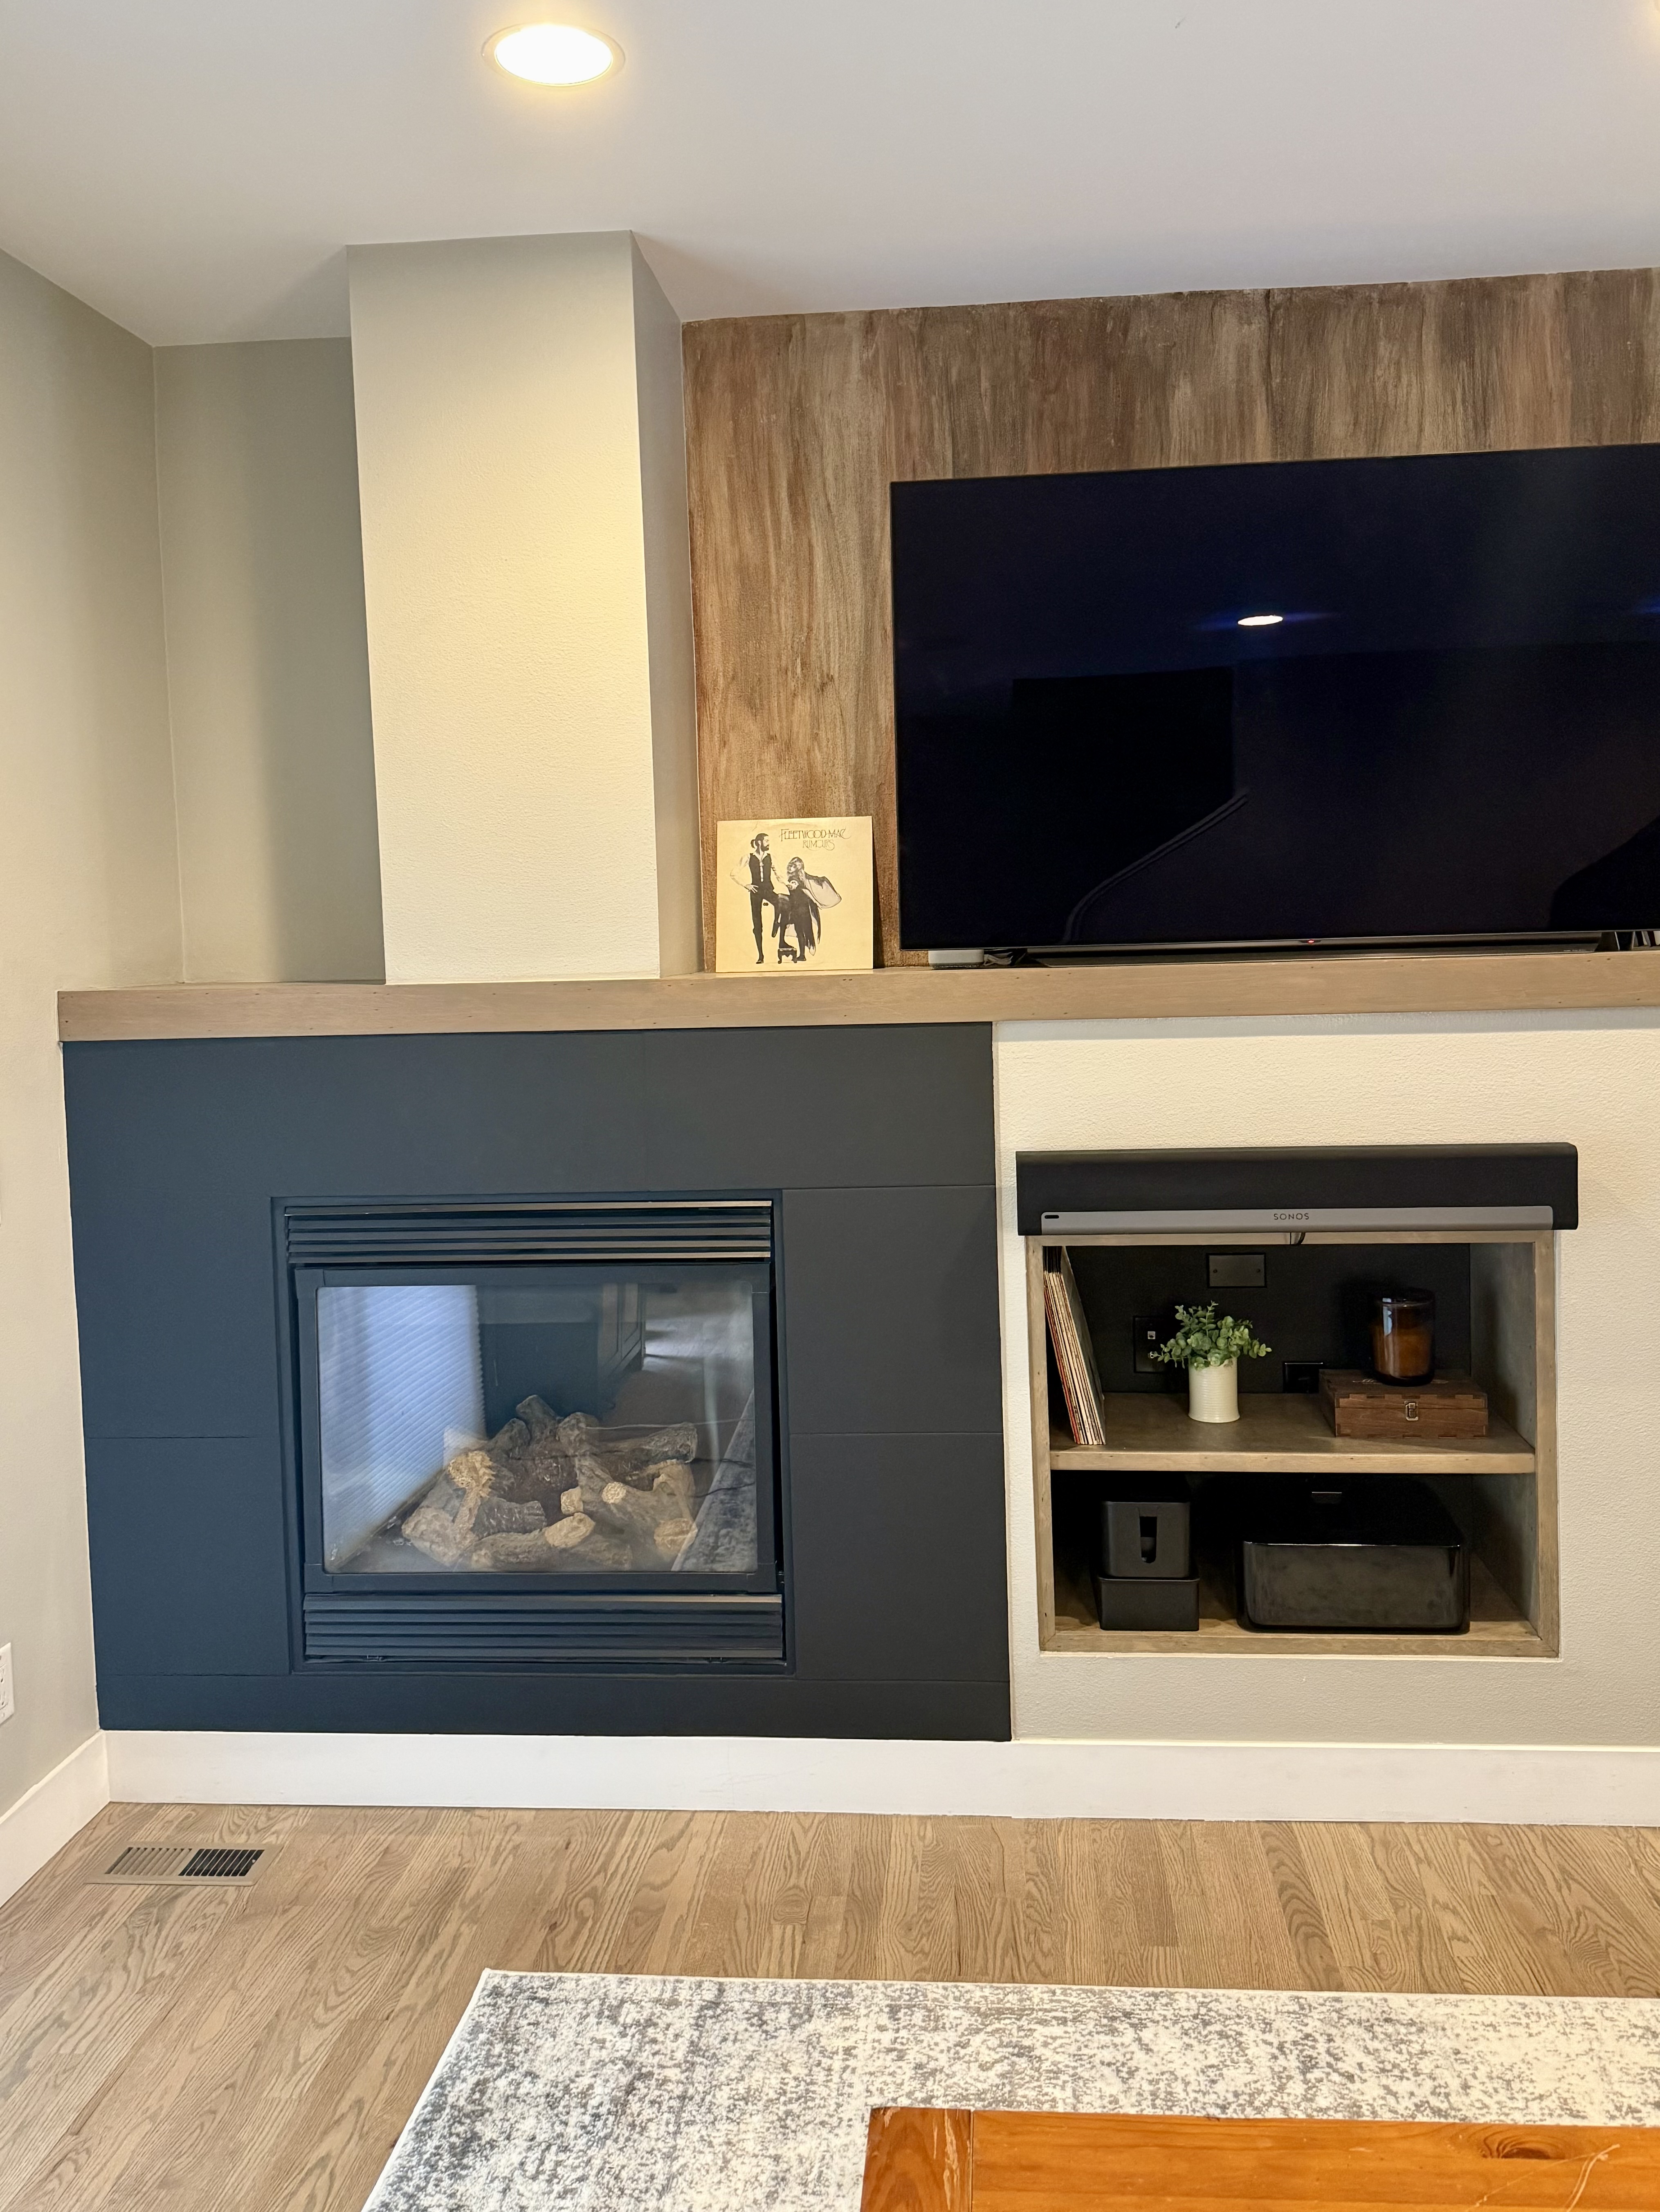
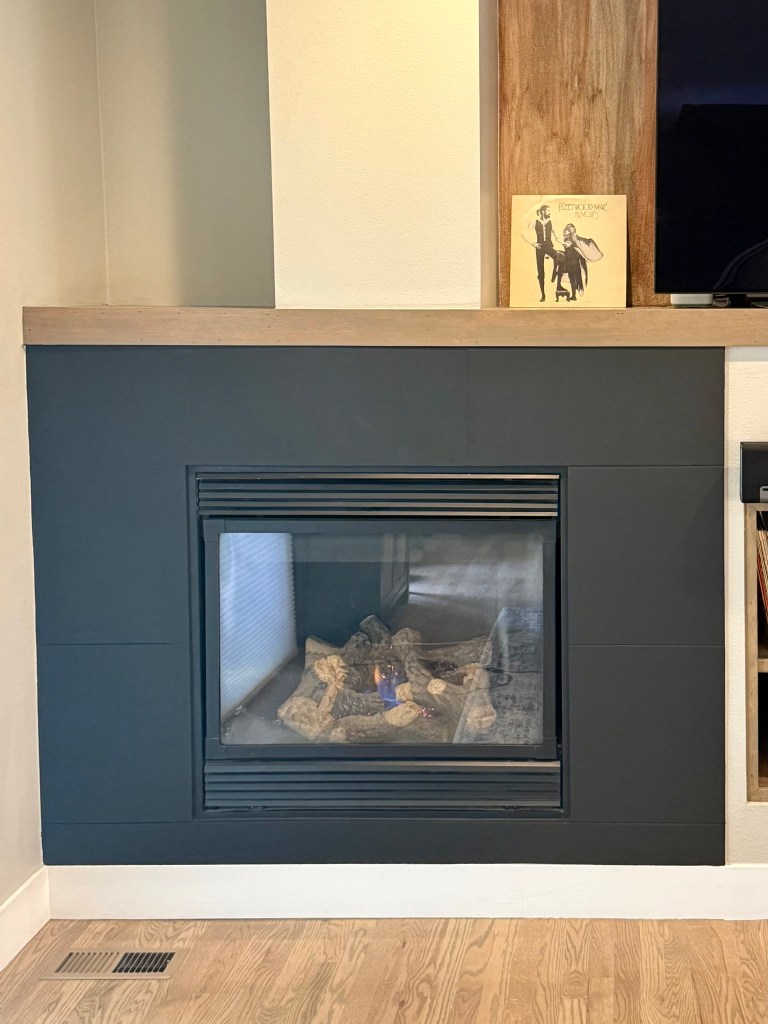
- Then it is painting time! I found that 4 inch rollers were perfect for this size of a space. I used small foam brushes to paint into the grout lines and small paint brushes to get into those other small areas that you will find more of than you anticipated. You will need 2-3 layers of paint, so make sure you let each layer dry completely before applying the next. We used HGTV HOME by Sherwin Williams Infinity Flat Paint in Tricorn Black.
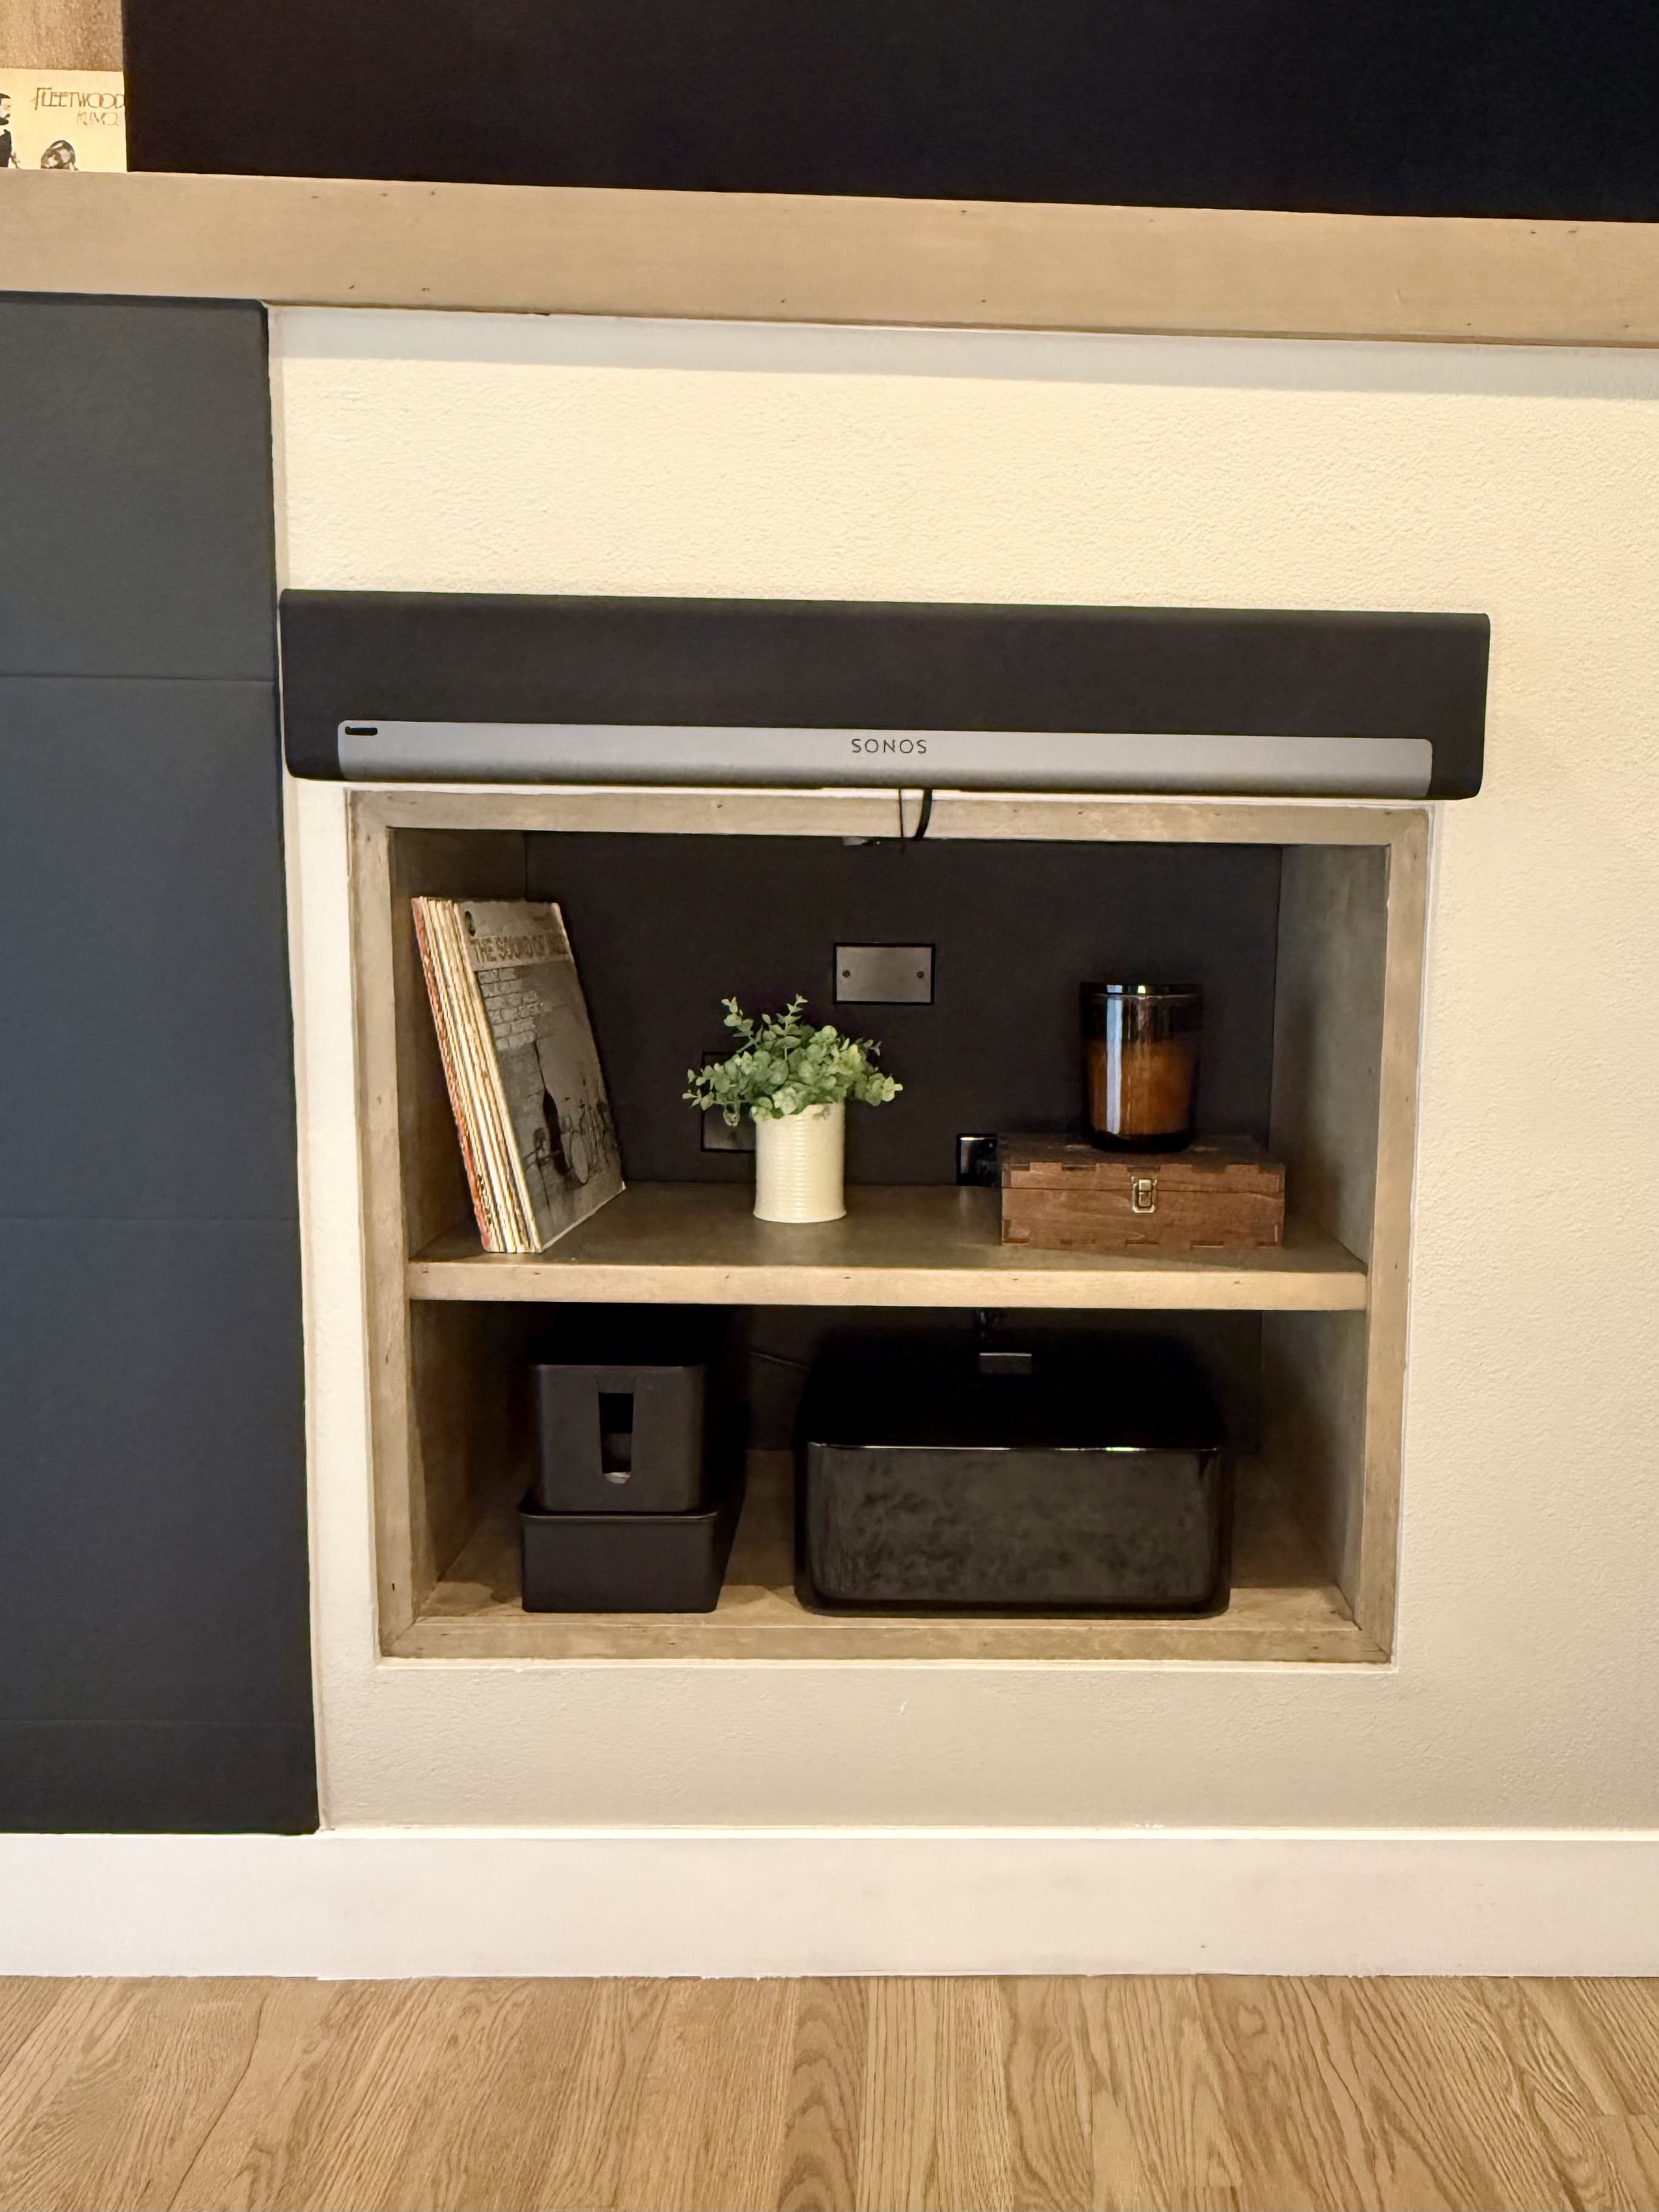
Now for the entertainment built in! This is just next to the fireplace, so updating it added cohesion to the entire wall while adding depth and elevating the space! The black paint also made it all of the black electronic equipment, cord manager, etc. a lot less noticeable!
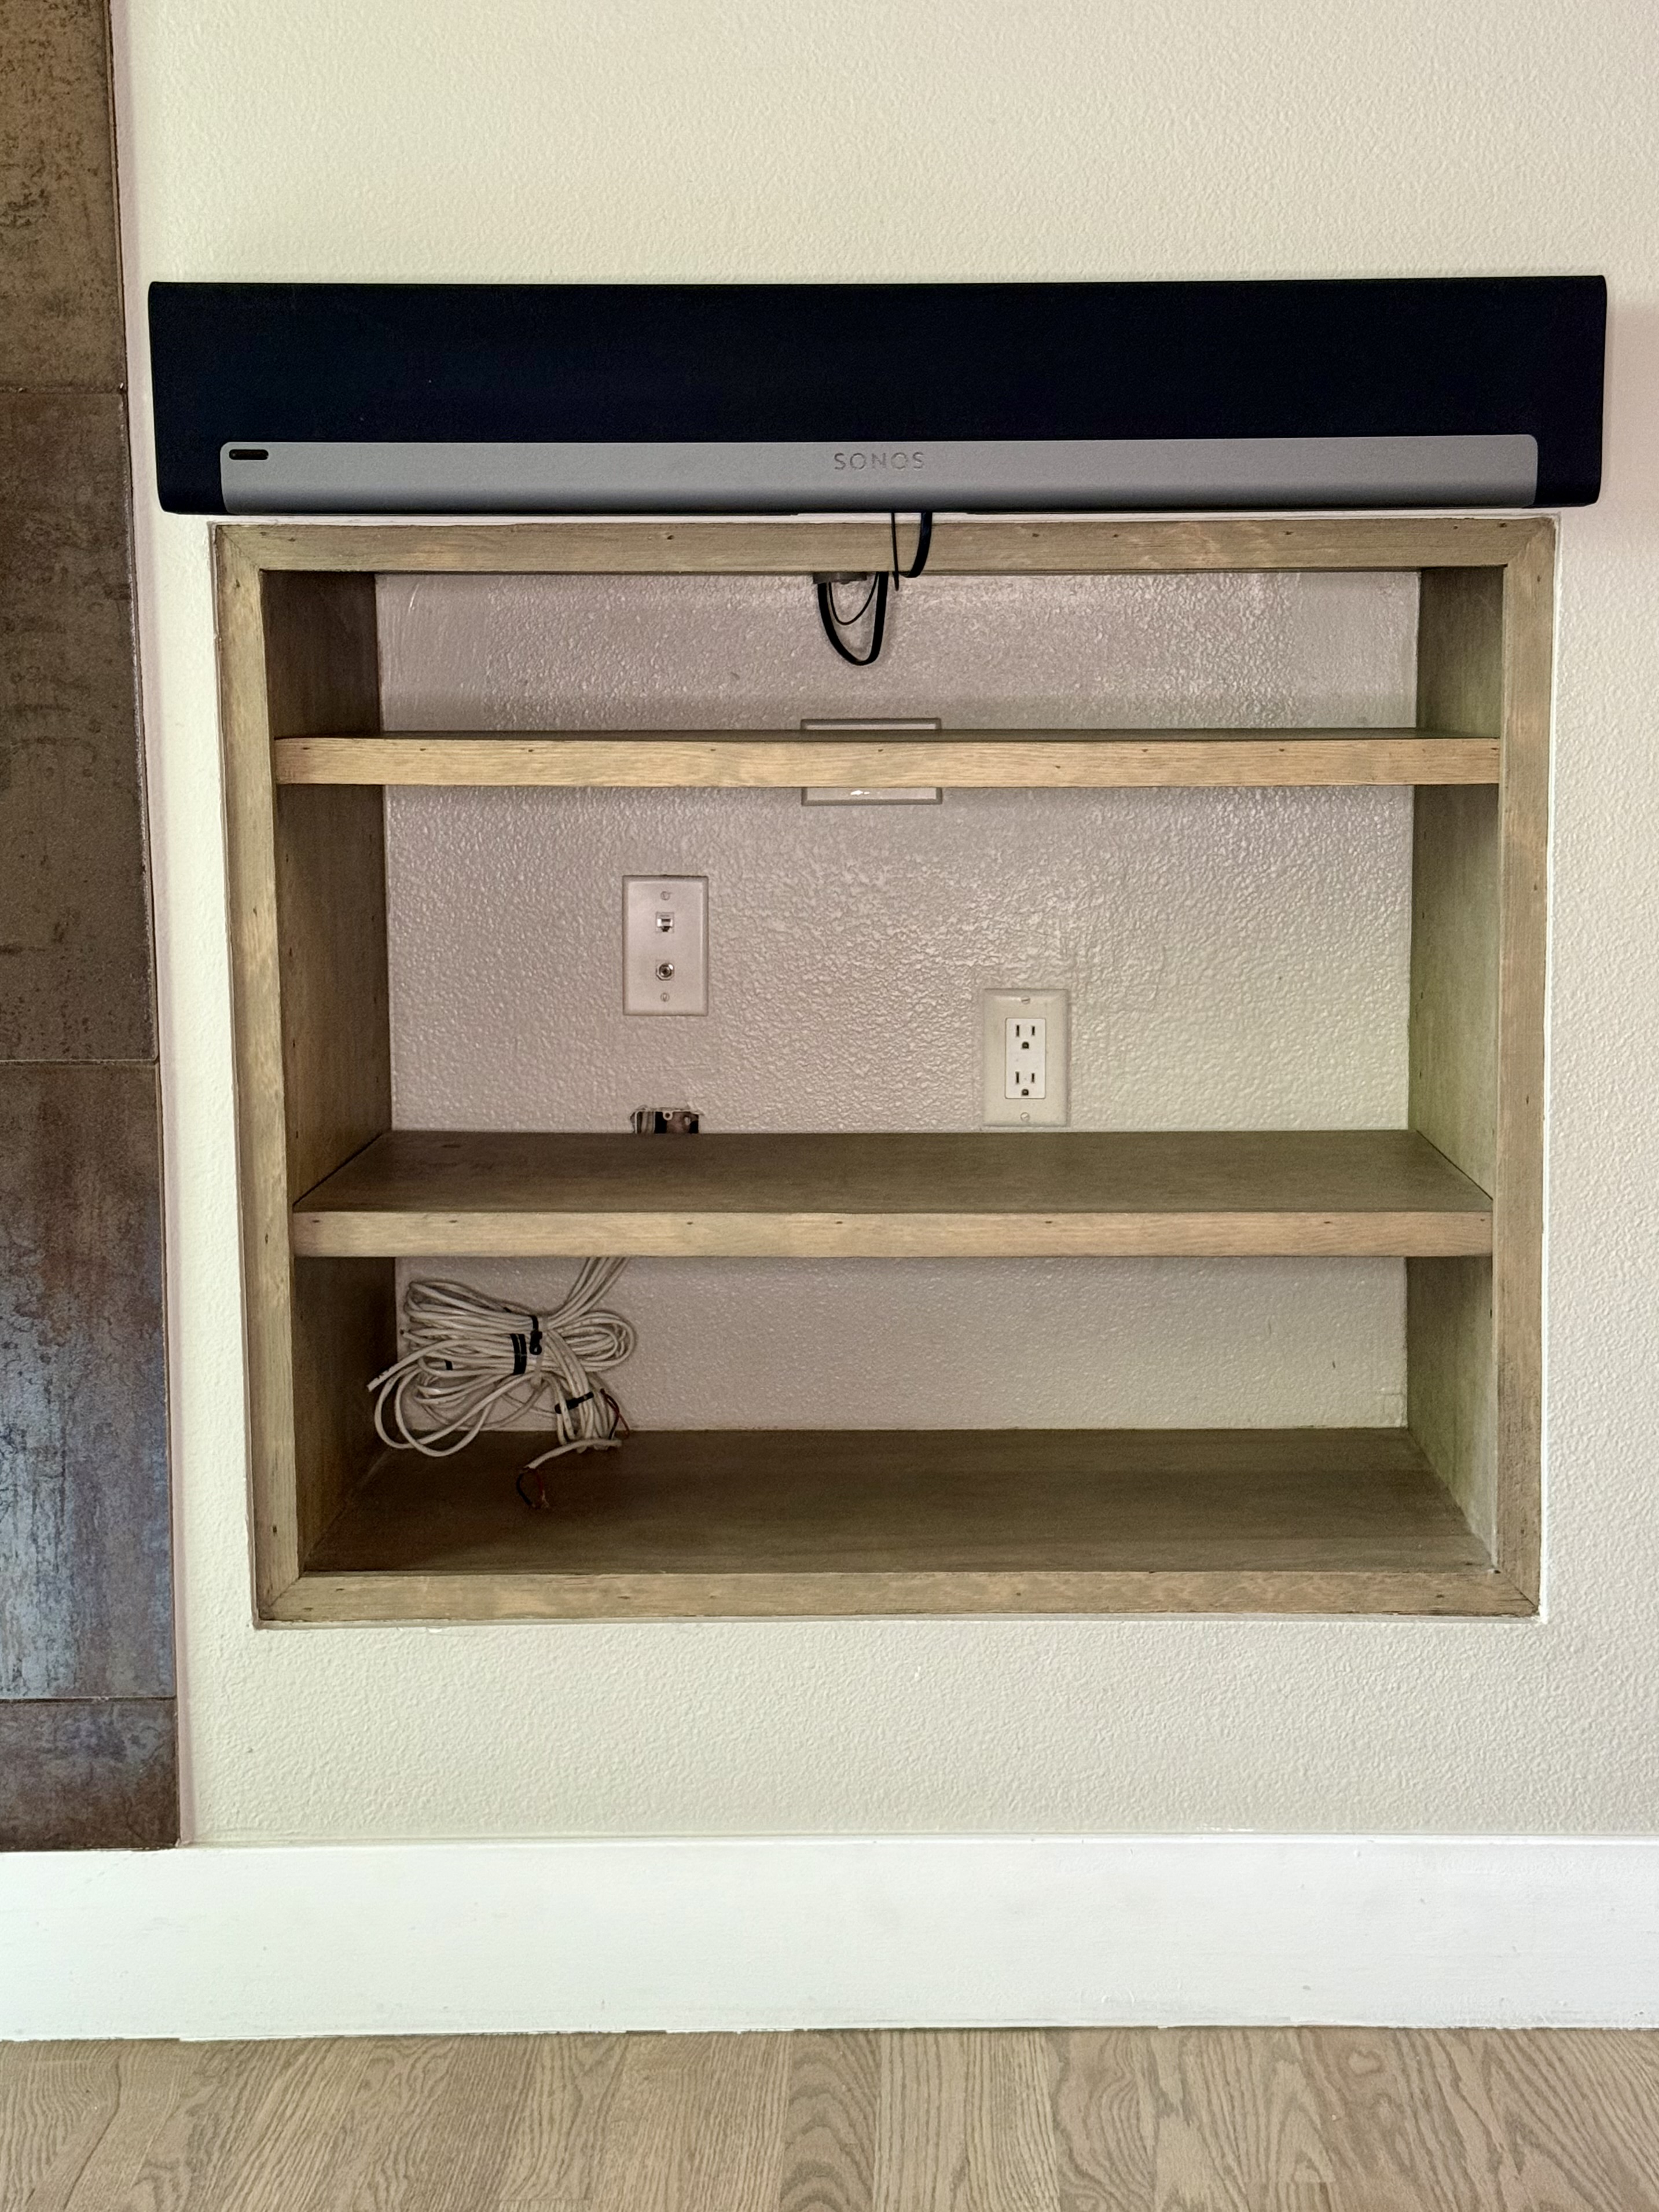
This was also great to work on while waiting for paint and primer to dry on the fireplace tile. Being able to bounce back and forth helped make it feel like we were using our time well.
Easy upgrade!
- Since this area was right by the fireplace, we just continued taping and tarping to this area as well.
- Next we removed the decorative plates around the outlets, coax port, etc.
- We had leftover interior wall primer from another project and I think we only needed one coat since we were going from light to dark.
- After the primer had dried completely, we used the exact same black paint that we bought for the fireplace. 2 coats did the job and we were able to use the same brushes that we used on the fireplace. The only wall within this built-in that we painted was the back one.
- After everything dried, it was time to update all of the electrical elements. So first thing is always to shut off power to the outlets you are working on. You literally cannot skip this step.
- I bought a black outlet receptacle and the decorative plate that fit it. For the coax port, i taped off the connecter and spray painted it with a matte black spray paint. I also did this for a random electrical cover plate that was back there. You can buy plates for these areas as well, but this was also a very easy solution. I also used the spray paint to make a clear storage box (bottom left box in the photo) black to add some extra storage that matched other electronic boxes. This made the area look so much cleaner. I used Rustoleum Flat Black Spray Paint.
Here are the BEFORE & AFTER photos of the entire wall! We could not believe how much of a difference these small changes made to not just that wall, but our entire living room! I could see the husband’s hesitation when I suggested black. It is a reasonable concern that it could darken the space, but it did just the opposite. That wall looks so much brighter with the black vs the outdated drab and glossy tile.